Ingredient Pink Pickled Turnips: Easy Middle Eastern Flavor Unveiled
If you're seeking to infuse your meals with vibrant color, a delightful crunch, and an irresistible tangy zest, look no further than the humble yet extraordinary pink pickled turnips. These culinary gems, deeply rooted in Middle Eastern cuisine, are not just a condiment; they're a statement. What's even better? Crafting these beauties at home is surprisingly straightforward, requiring minimal ingredients and effort. Prepare to transform simple turnips into a captivating hot pink delight that will become a staple in your kitchen, adding authentic flavor with astounding ease.
The Allure of Simple Pink Pickled Turnips
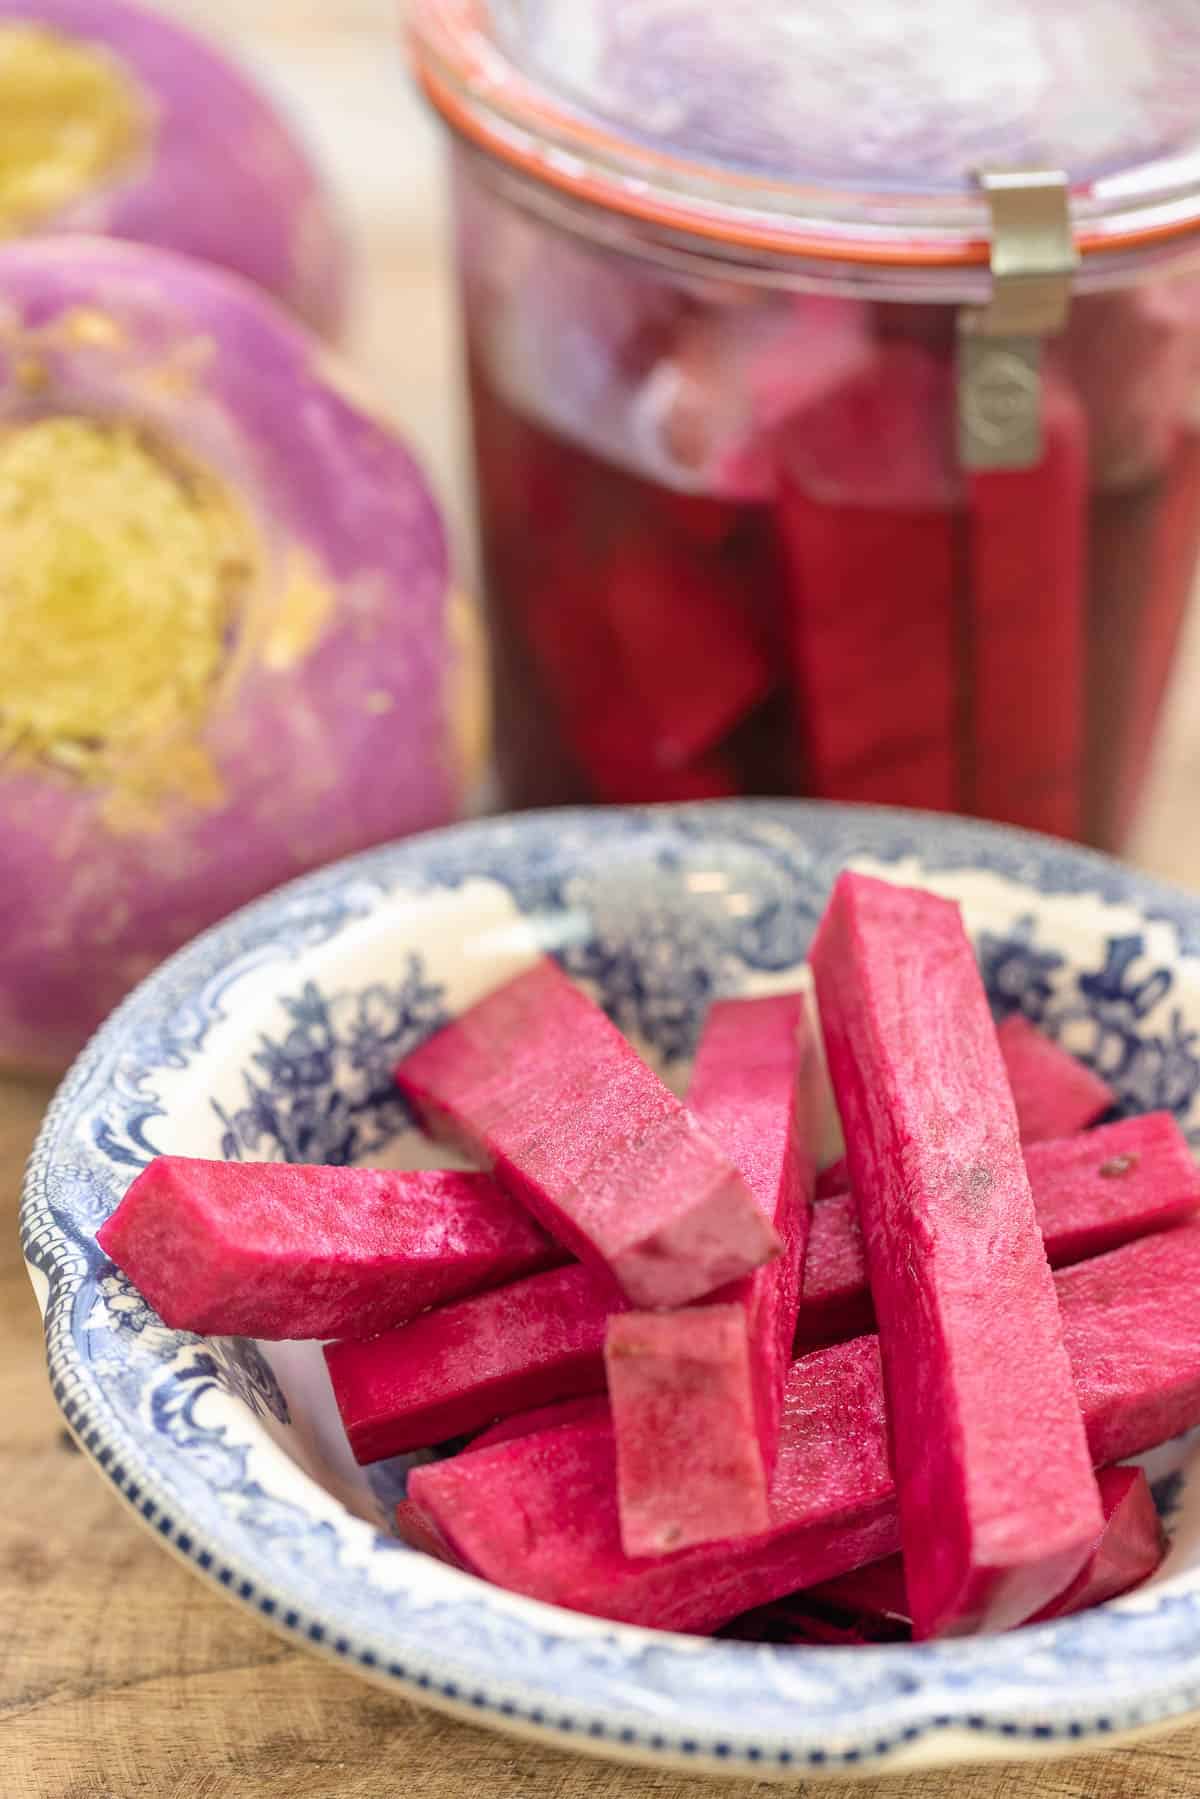
Imagine a dish that’s both visually stunning and a powerhouse of flavor and texture. That's precisely what you get with
simple pink pickled turnips. Their gorgeous, almost neon pink hue immediately catches the eye, making them a festive addition to any plate. But their appeal goes far beyond aesthetics. Each bite delivers a crisp, crunchy texture, followed by a burst of tangy, sweet, and subtly earthy flavors. This exquisite balance elevates everything from hearty main courses to light appetizers.
Originating from the Middle East, these pickled turnips are more than just a side dish; they are an essential component of the regional culinary landscape, revered for their ability to cut through rich flavors and provide a refreshing counterpoint. While they might appear complex, their creation is a wonderfully simple introduction to the world of homemade pickles. Many home cooks assume their striking color comes from artificial dyes, but the magic, as we'll explore, lies in a completely natural ingredient. This simplicity makes them an ideal project for beginners, promising impressive results without a steep learning curve. The journey from raw turnips to perfectly pickled perfection is short, with just a few minutes of active prep before a patient wait of about a week unlocks their full potential.
Why Go Homemade?
Opting for homemade pickled turnips offers several advantages over store-bought versions. You gain complete control over the quality of ingredients, ensuring fresh, vibrant produce and avoiding unwanted preservatives or artificial flavors. Plus, the satisfaction of creating such a delicious and beautiful condiment from scratch is unparalleled. You'll quickly discover why making your own is not just a preference, but a rewarding culinary experience. For those eager to dive deeper into making their own vibrant condiments, learning to make
Get Hot Pink Pickled Turnips for Authentic Middle Eastern Dishes is a fantastic next step.
Unlocking the Magic: Just 5 Ingredients (Plus Water!)
The beauty of this recipe lies in its minimalist approach. You truly only need five core ingredients, plus water, to achieve these spectacular results. Each component plays a crucial role in developing the signature flavor and color of these Middle Eastern delights.
1.
Turnips: The Star of the Show
Choose firm, small to medium-sized turnips for the best texture. They should feel heavy for their size and have smooth skin, free from blemishes. While larger turnips can be used, smaller ones tend to have a milder flavor and a more tender, less fibrous texture once pickled. Peel them thoroughly before slicing.
2.
Beets: The Natural Color Artist
This is where the magic happens! Beets are solely responsible for the impressive hot pink color, transforming plain white turnips into a visual feast. Crucially, they impart no discernible flavor to the pickles, acting purely as a natural dye. You can slice them thinly, similar to the turnips, or chop them into thicker rounds. Thicker pieces make them easier to identify and remove if you prefer not to eat them after they've done their job, though they are perfectly edible and delicious in their own right.
3.
White Vinegar: The Tangy Preserver
White vinegar is the backbone of the pickling brine, providing the essential acidity that preserves the turnips and gives them their characteristic tangy kick. Distilled white vinegar is generally preferred for its clean flavor profile, ensuring it doesn't overpower the other elements.
4.
Salt: The Flavor Enhancer and Preservative
Salt is vital for both flavor and the pickling process. It draws out moisture from the turnips, contributing to their crisp texture, and acts as a natural preservative. When preparing your brine, the context mentions a unique "egg test" to ensure proper salt concentration. To perform this, you add salt to water until a raw egg (in its shell) floats on the surface. This indicates the brine has reached the optimal density for effective pickling and preservation. Using non-iodized pickling salt is recommended as iodine can sometimes darken vegetables and make brine cloudy.
5.
Water: The Brine Base
Filtered water is always a good choice for pickling to avoid any potential contaminants or chlorine that might affect flavor or the pickling process.
This simple yet powerful combination of ingredients demonstrates that sometimes, less truly is more.
Your Step-by-Step Guide to Homemade Perfection
Creating your own
simple pink pickled turnips is an incredibly rewarding process. Follow these straightforward steps to ensure a delicious and successful batch every time.
1.
Sterilization: The Foundation of Food Safety
Before you begin, it’s crucial to sterilize your jars and lids. This eliminates any bacteria that could spoil your pickles. You can achieve this by washing jars in hot, soapy water, rinsing them well, then placing them in boiling water for at least 10 minutes. Alternatively, a dishwasher on a hot sanitize cycle works wonders. Ensure they are completely dry before use to prevent diluting the brine.
2.
Preparing the Vegetables: Uniformity is Key
Peel your turnips and beets. The slicing method is largely up to personal preference, but aiming for uniform thickness (around 1/4 to 1/2 inch) ensures even pickling. Matchsticks, thin rounds, or even small wedges all work beautifully. Uniformity helps all pieces pickle at the same rate, resulting in consistent texture and flavor.
3.
Crafting the Brine: The Heart of the Pickle
In a large bowl, combine your water and salt. Stir vigorously until the salt dissolves. This is where you can perform the aforementioned "egg test" to confirm the salinity. Once satisfied, add the white vinegar and stir again. Taste a small amount of the brine – it should be distinctly salty and tangy, but not overwhelmingly so. Adjust salt or vinegar if needed, keeping in mind the turnips will absorb a good amount of the flavor.
4.
Filling the Jars: Layer by Layer
Carefully pack your sliced turnips and beets into the sterilized jars. Alternate layers of turnips and beets to ensure even color distribution. Don't overpack them, but ensure they are nestled in tightly enough to minimize air pockets.
5.
Submerging and Sealing: The Pickling Begins
Pour the prepared brine over the vegetables in the jars, ensuring all pieces are fully submerged. This is critical for proper pickling and preventing spoilage. You might need to gently press down on the vegetables with a utensil to release any trapped air bubbles. Leave a little headspace at the top (about 1/2 inch). Seal the jars tightly with their lids.
6.
The Waiting Game: Patience is a Virtue
Place your sealed jars in a dark cupboard at room temperature for about 5 to 7 days. This resting period allows the flavors to meld and the beets to work their magic, transforming the turnips into that signature hot pink hue. If you’re concerned about leaving them at room temperature, the pickles can also develop in the refrigerator, though it might take a couple of extra days. Observe the color change and taste a small piece after 5 days to determine if they've reached your desired level of tanginess and color.
7.
Storage: Enjoy for Weeks
Once your pickles have reached perfection, transfer them to the refrigerator. They will continue to develop flavor over the first few days in the fridge and will keep beautifully for several weeks, ready to brighten up any meal. For details on how these
Homemade Pink Pickles: Tangy Turnips in Just 5 Days transform, read more about their rapid flavor development.
Beyond the Basics: Creative Ways to Enjoy Your Pickles
Once you’ve mastered the art of making
simple pink pickled turnips, you'll discover their incredible versatility. These tangy, crunchy delights are far more than just a Middle Eastern condiment; they're a culinary secret weapon.
In their traditional role, they are an absolute necessity for authentic Middle Eastern dishes. Imagine a warm, spiced shawarma or falafel wrap, perfectly complemented by the sharp tang of these pickles. They cut through the richness of grilled meats like kabobs or kefta, offering a refreshing counterpoint that awakens the palate. They are often found on vibrant meze platters, alongside hummus, baba ghanoush, and olives, providing a burst of color and flavor. Many people find themselves pairing them with Moroccan tagines or Lebanese staples, where their presence is truly essential.
But don't stop there! Their applications extend far beyond traditional boundaries:
* **Sandwiches and Wraps:** Elevate any sandwich, burger, or wrap with a layer of these vibrant pickles. They add a gourmet touch and a satisfying crunch.
* **Salads:** Chop them finely and toss them into green salads, grain bowls, or even potato and chicken salads for a tangy twist.
* **Eggs:** Serve them alongside scrambled eggs, omelets, or as a garnish for deviled eggs to add a zesty kick.
* **Charcuterie Boards:** Their impressive color and tangy flavor make them a fantastic addition to any cheese or charcuterie board.
* **Snacking:** If you're a pickle enthusiast, these make a wonderfully satisfying and low-calorie snack straight from the jar.
* **Global Cuisine:** Experiment by adding them to tacos, quesadillas, or alongside Asian-inspired dishes for an unexpected fusion of flavors.
The crisp texture and tangy sweetness of pink pickled turnips make them a delightful accompaniment to almost anything, even alongside rice and yogurt for a surprising yet delicious combination. Their ability to cleanse the palate and add a dimension of bright flavor makes them an invaluable ingredient for any aspiring home chef.
Conclusion
Mastering the creation of
simple pink pickled turnips is a testament to how easily extraordinary flavors can be brought into your home kitchen. With just a handful of ingredients, a little patience, and a few simple steps, you can create a gorgeous, flavorful, and incredibly versatile condiment that will elevate countless meals. From their striking, natural hot pink hue to their irresistible tangy crunch, these Middle Eastern-inspired pickles are sure to impress both your taste buds and your guests. So, gather your turnips and beets, prepare your brine, and get ready to enjoy the rich, authentic taste of homemade pickled perfection that keeps on giving for weeks.